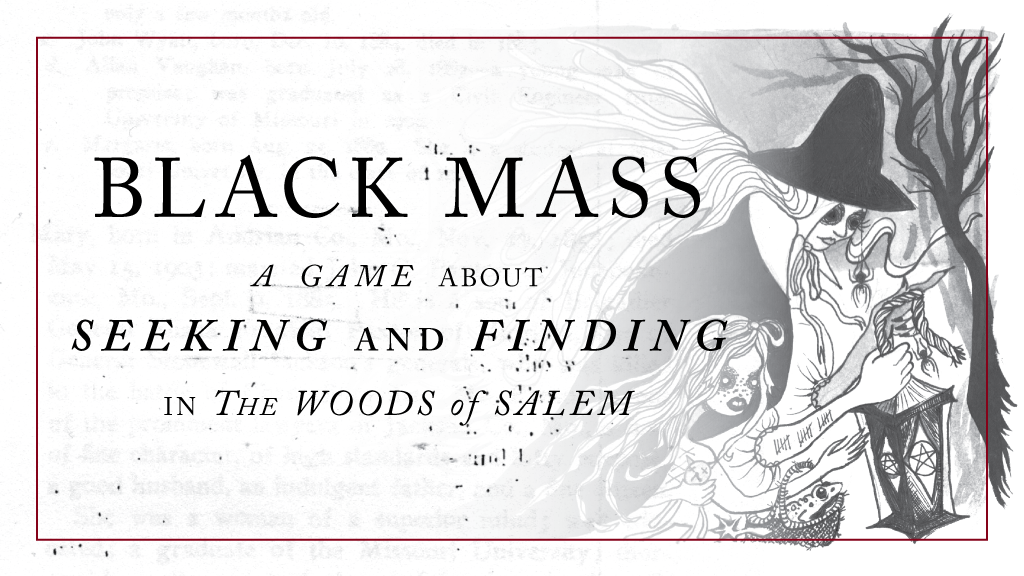
I’m really excited to talk about Black Mass, a game by Will Jobst. I think this game is incredibly cool and you should go buy it now on itch.io!
I actually bought a print version of this game from the indie section of my local comic book store. I love the hand-made zine vibes of the book- it looks like it was printed and pieced together at a kinkos print center (something I have done many times). It’s a TTRPG that is played not with dice but with a deck of Tarot cards. You have to provide the cards yourself but the book also provides instructions on how to use standard playing cards if you do not have a tarot deck handy.
The Game
Black Mass is a roleplaying game about two people leaving a community that doesn’t want them, to the woods that calls for them. Those travelers, Lydia and Catherine, confront their pasts to seek their own black mass, a moment of transformation, to put the tools of change into their own hands.
Black Mass takes place during the Salem witch trials in and around Salem, MA. The players each take charge of the two main characters, Catherine and Lydia – or rather an aspect of each of their personalities.
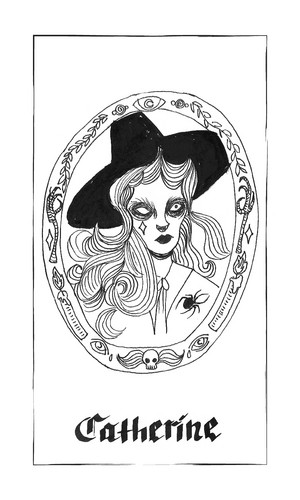
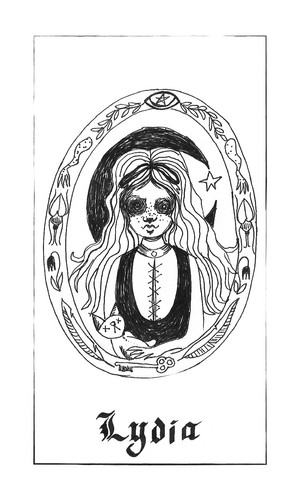
Rather than making a character, players will choose a Persona to control. Each girl has many personas and each player will control one for each girl. To take actions in the game a player will use the persona to inhabit one of the girls and influence her actions and decisions.
The game is decidedly a more modern style of table-top game and relies less heavily on crunchy stats and more on collaborative story telling. It does however still require a facilitator or DM like figure rather than a totally DM-less experience (as found in games like Fiasco). I think the mix of free form collaborative story telling with a slightly guided and agonistic experience from the DM makes this game a nice bridge for players new to tabletop gaming but perhaps intimidated by the more crunchy experiences like DnD.
Actual Play
We had a group of 5 players plus me as the Game Master. While the game suggests playing the game in one sitting, for us it took two nights. We spent the first night picking characters and answering the season questions, and then we started actually playing the second night. The game is divided into two parts with a small break in between so doing it in two nights was fine (I just made sure to take pictures of the spread, and notes about everyone’s answers to the questions).
Before playing we established a tone for the game (“picking a season” in the game’s parlance) which determines the types of questions that would be asked. I also explained how the x-card works for new players, which is a consent tool. Any player at any time can hold up the x-card and as the GM I will make sure to redirect the story away from whatever the unwanted experience is.
The first part of the game involves everyone taking turns drawing tarot cards and answering pre-written questions about each girl. As each player gets a chance to build the back story of these girls they make a spread that works as a visual timeline of the girls lives.
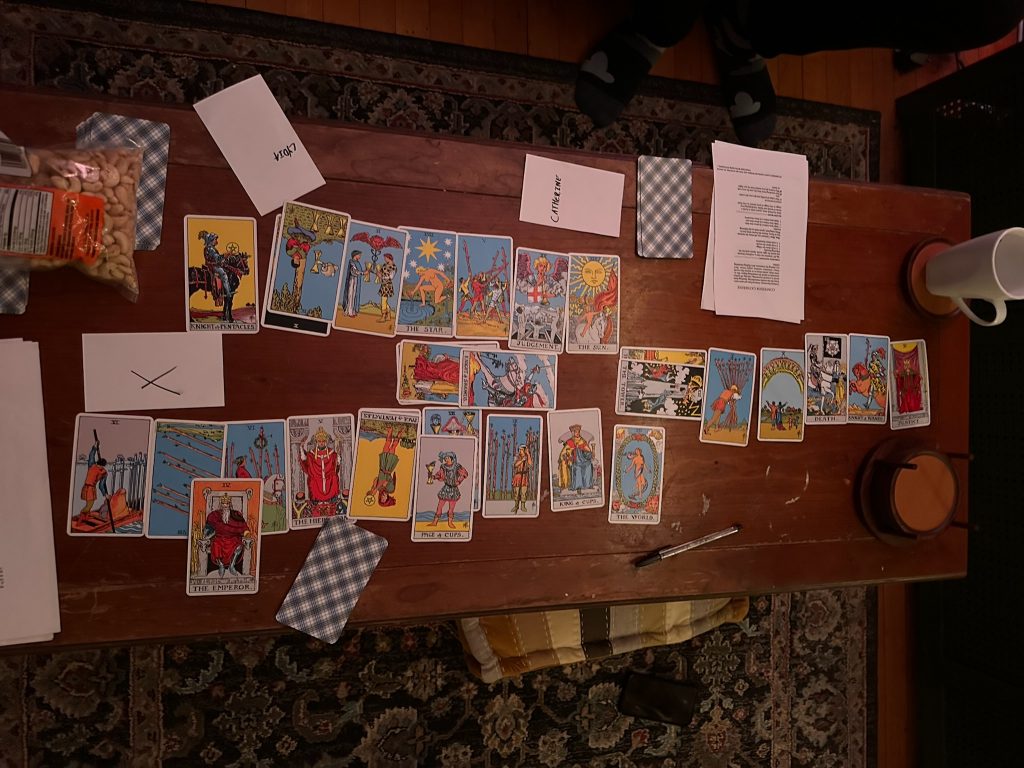
In our spread one side represents Catherine, and the other, Lydia. The questions include several major events that involve both girls- these cards are placed in the middle.
After we completed this portion of the game, I wrote a brief outline of what would happen to the girls. I had some ideas based on what everyone talked about- like it was obvious that Catherine’s father would be a major antagonist in the story. I planned on a couple moments (confronting the father in an abandoned church house, a mysterious trapper, finding themselves somehow under the frozen lake where their little brother drowned) and then figured the players would direct a lot of the action.
On the second night we began the actual play portion of the game. Players use their personas to inhabit one of the girls and control them like a character in any other TTRPG. Instead of rolling dice, players pull tarot cards to perform actions – Swords for ‘strife’ or physical actions, Cups for sneaky actions, and wands for perception type actions. Pentacles are used for the special actions that each persona can do. If a major arcana is drawn the GM is instructed to create a new story event based on the card (a table is given in the rule book).
The story that developed from our gameplay was riveting. Because the characters were so developed all the players came into gameplay with a real clear idea of what they wanted to accomplish. While some threads got left behind there were a few clear stories that all the players latched onto and together a very clear three act story fell into place.
Our story was of Catherine, a young woman spending her life in the shadow of fear cast by her alcoholic minister father and the brutal murder of her brother; and of Lydia, a young girl traumatized by childhood loss and who sees visions of a giant moose that beckons her and whispers to her of a safe place in the woods covered in moss. Together the two flee into the night to find a home for themselves.
Over the night, the girls confront Catherine’s father, a group of hunters, and the memory of the loss of Lydia’s baby brother. These experiences each recontextualize the girls, framing them less and less as victims and turning each into an arbiter of their own justice. As Catherine’s father lays in bloody pieces under her wood axe, and the death of Lydia’s brother is now a joyful delight, the two girls walk hand in hand behind the ancient moose into a dark and wet and mossy hollow in the woods to create a new world for themselves.
Final Thoughts
I loved this game! I think the conceit of using tarot cards to tell a story together is brilliant. Our group had a mix of experienced and new players and everyone seemed to enjoy and participate in the storytelling and game play. The original soundtrack to the game (made by Jobst’s brother) is fantastic and atmospheric.
Some of the instructions were a little vague in places, for example, the instructions on how to use the spread were very hard to follow. This just allowed us to sort of make our own way with it and it wound up being perfect for us.
I wouldn’t recommend this game for an entirely new group of players as I found my role as game master required a little management of creating interesting events for the players to interact with as well as allowing space for the players to create their own experiences. As long as the game master has a little TTRPG experience though I think this game is totally accusable to new players!
We had a great time and I can’t wait to play this game again with a different season and see how much the tone of the game will change. I also think this framework would be fun to hack into a new story entirely, simply replacing the season questions with questions based on the new personas you may create.
Go buy this game and support Will- and if you have any recommendations for other fun, esoteric, indie games please comment below or email me!