Creating a responsive Single Page Web App can be daunting, but using a good CSS framework can help. I like Bulma for its easy to read syntax, and because its column layout is familiar to me as someone who usually uses Bootstrap. By wrapping your Vue elements in Bulma classes, you can easily perform complicated conditional rendering and not worry about the app breaking, as all the elements will sort to the proper positions within the container.
For this example I am using @vue/cli 4.5.13, which you can install through Yarn or NPM. I am using NPM for this example.
npm install -g @vue/cliWith @vue/cli we can use the create-app feature to build our scaffolding:
vue create my-app-nameThis will open a menu that prompts you to select the features you want for your app
Vue CLI v4.5.13
 ? Please pick a preset:
   Default ([Vue 2] babel, eslint)
   Default (Vue 3) ([Vue 3] babel, eslint)
   Manually select features
Go ahead and select: Manually select features
Vue CLI v4.5.13
 ? Please pick a preset: Manually select features
 ? Check the features needed for your project:
  (*) Choose Vue version
  (*) Babel
  ( ) TypeScript
  ( ) Progressive Web App (PWA) Support
  ( ) Router
  (*) Vuex
  (*) CSS Pre-processors
  (*) Linter / Formatter  () Unit Testing
  ( ) E2E Testing
Use space to select CSS Pre-Processors and Babel any other features you may want. Also make sure to select Vue 3. Press enter to move on. Continue answering the questions, but make sure to select Dart-SASS as your preprocessor
? Pick a CSS pre-processor (PostCSS, Autoprefixer and CSS Modules are supported by default):
    >Sass/SCSS (with dart-sass)
     Sass/SCSS (with node-sass)
     Less
     Stylus
Finish selecting your features and allow the app to scaffold. Navigate to the app and you should be able to run:
cd ./my-app-name
npm run serve
And see your app running. Now we need to install Bulma:
npm install bulma --save-devNext create a folder in /src/ called styles and then create /src/styles/main-styles.scss
and insert the following code:
@charset "utf-8";
//styles will go here
@import "~bulma";
Then we need to reference this style in main.js
require('./styles/main-styles.scss');And thats it! Let’s test it by adding a button to our home page. Navigate to the HelloWorld.vue component and add a button with Bulma styling
<template>
  //code

    <button class="button is-primary">Bulma Button</button>

  // more code
</template>
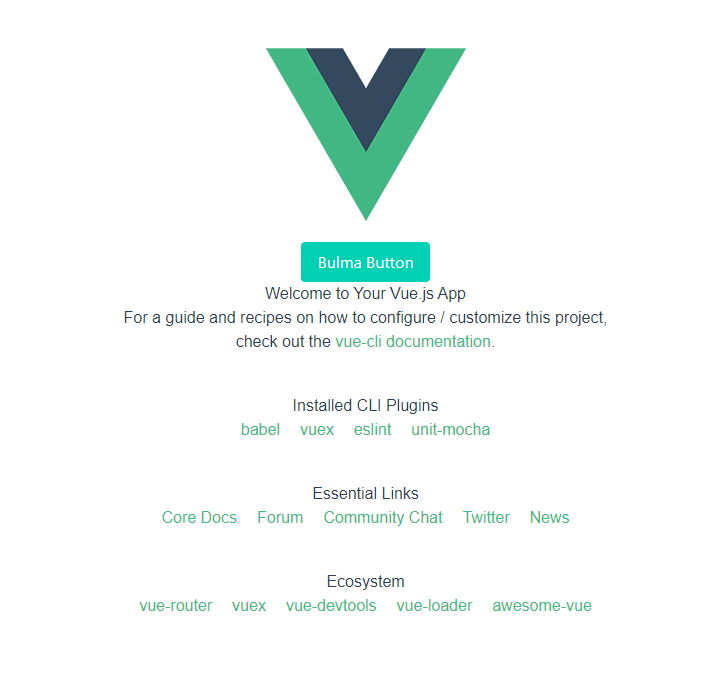
When you run your app the styling should apply:

Great! Now let’s add our own custom styling. Back in src/styles/main-styles.scss We should define a new primary color:
@charset "utf-8";
//styles will go here
$pink: #eb909f;
$primary: $pink;

@import "~bulma";
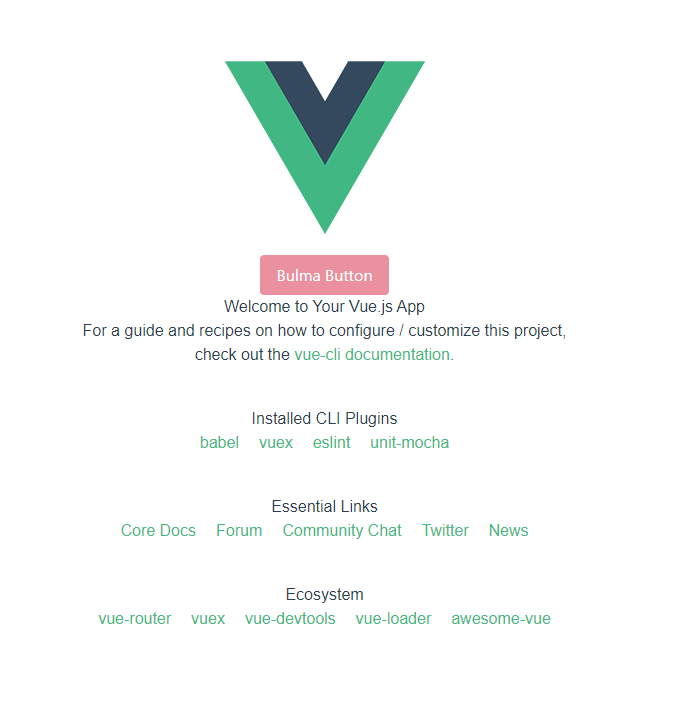
And now your App should look like this:

It’s that easy! For a full list of Bulma variables, check out the Bulma docs
Have fun!


Hey man,
I’m just a guy trying to make a living and unfortunately I haven’t learned enough yet. But today my day was saved by this post. Thank you very much, and may you be very happy in your life. Hugs from a Brazilian guy.
Thanks Joe I hope you finished your project! Stick with it- and the learning will happen on its own!
Thank you. That was just the right tutorial for me and my knowledge level.